Removing & Cleaning Your Prints
You’ve successfully printed your part—now it’s time to remove it and clean it up. This guide complements Responsible 3D Printing and Preparing to Print, helping you safely remove your print from the build plate, clean up any supports, and leave the area ready for the next user.
Getting Your Print Off the Bed
Improper removal can damage both your print and the USF 3D printers. It is important to know how to properly remove a print from the build plate. Follow these steps to remove your part safely:
Wait for the build plate to cool fully. Right after a print finishes, the build plate can be over 60°C (140°F). At this temperature, the plastic is still soft and slightly malleable, which can make removal difficult and risk deforming the bottom layers. Letting the plate and part cool not only prevents burns—it also allows the plastic to stiffen and naturally release from the surface, making removal much easier and cleaner.
Let the build plate cool down to room temperature before attempting to remove your print. This typically takes about 10 minutes but can vary based on the print size and ambient conditions. Remove the print only when the build plate is cool to the touch.
If it’s stuck, flex with care. The Adventurer 5M printers have removable magnetic build plates. You can remove the build plate by grabbing the tab on the front, bending it just enough to pop the print loose, and immediately putting it back after removing your print. This flexing action helps release the print without damaging it.
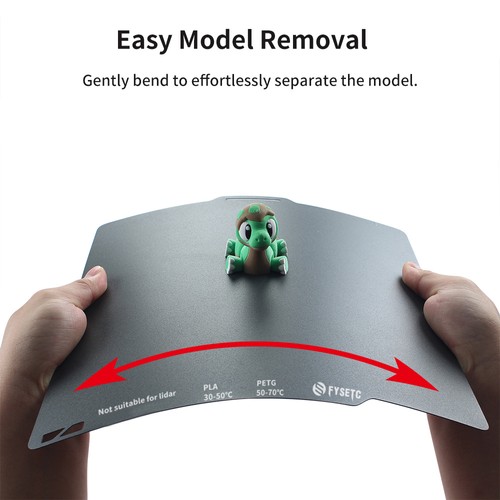
Flexing the build plate to safely remove a finished print. [1]
Warning
Always put the plate back on the printer afterwards. Do not walk away from the printer with the plate in hand. Warped, lost, or misplaced plates will result in revocation of your printing privileges, a replacement fee, and further consequences.
Removing Supports
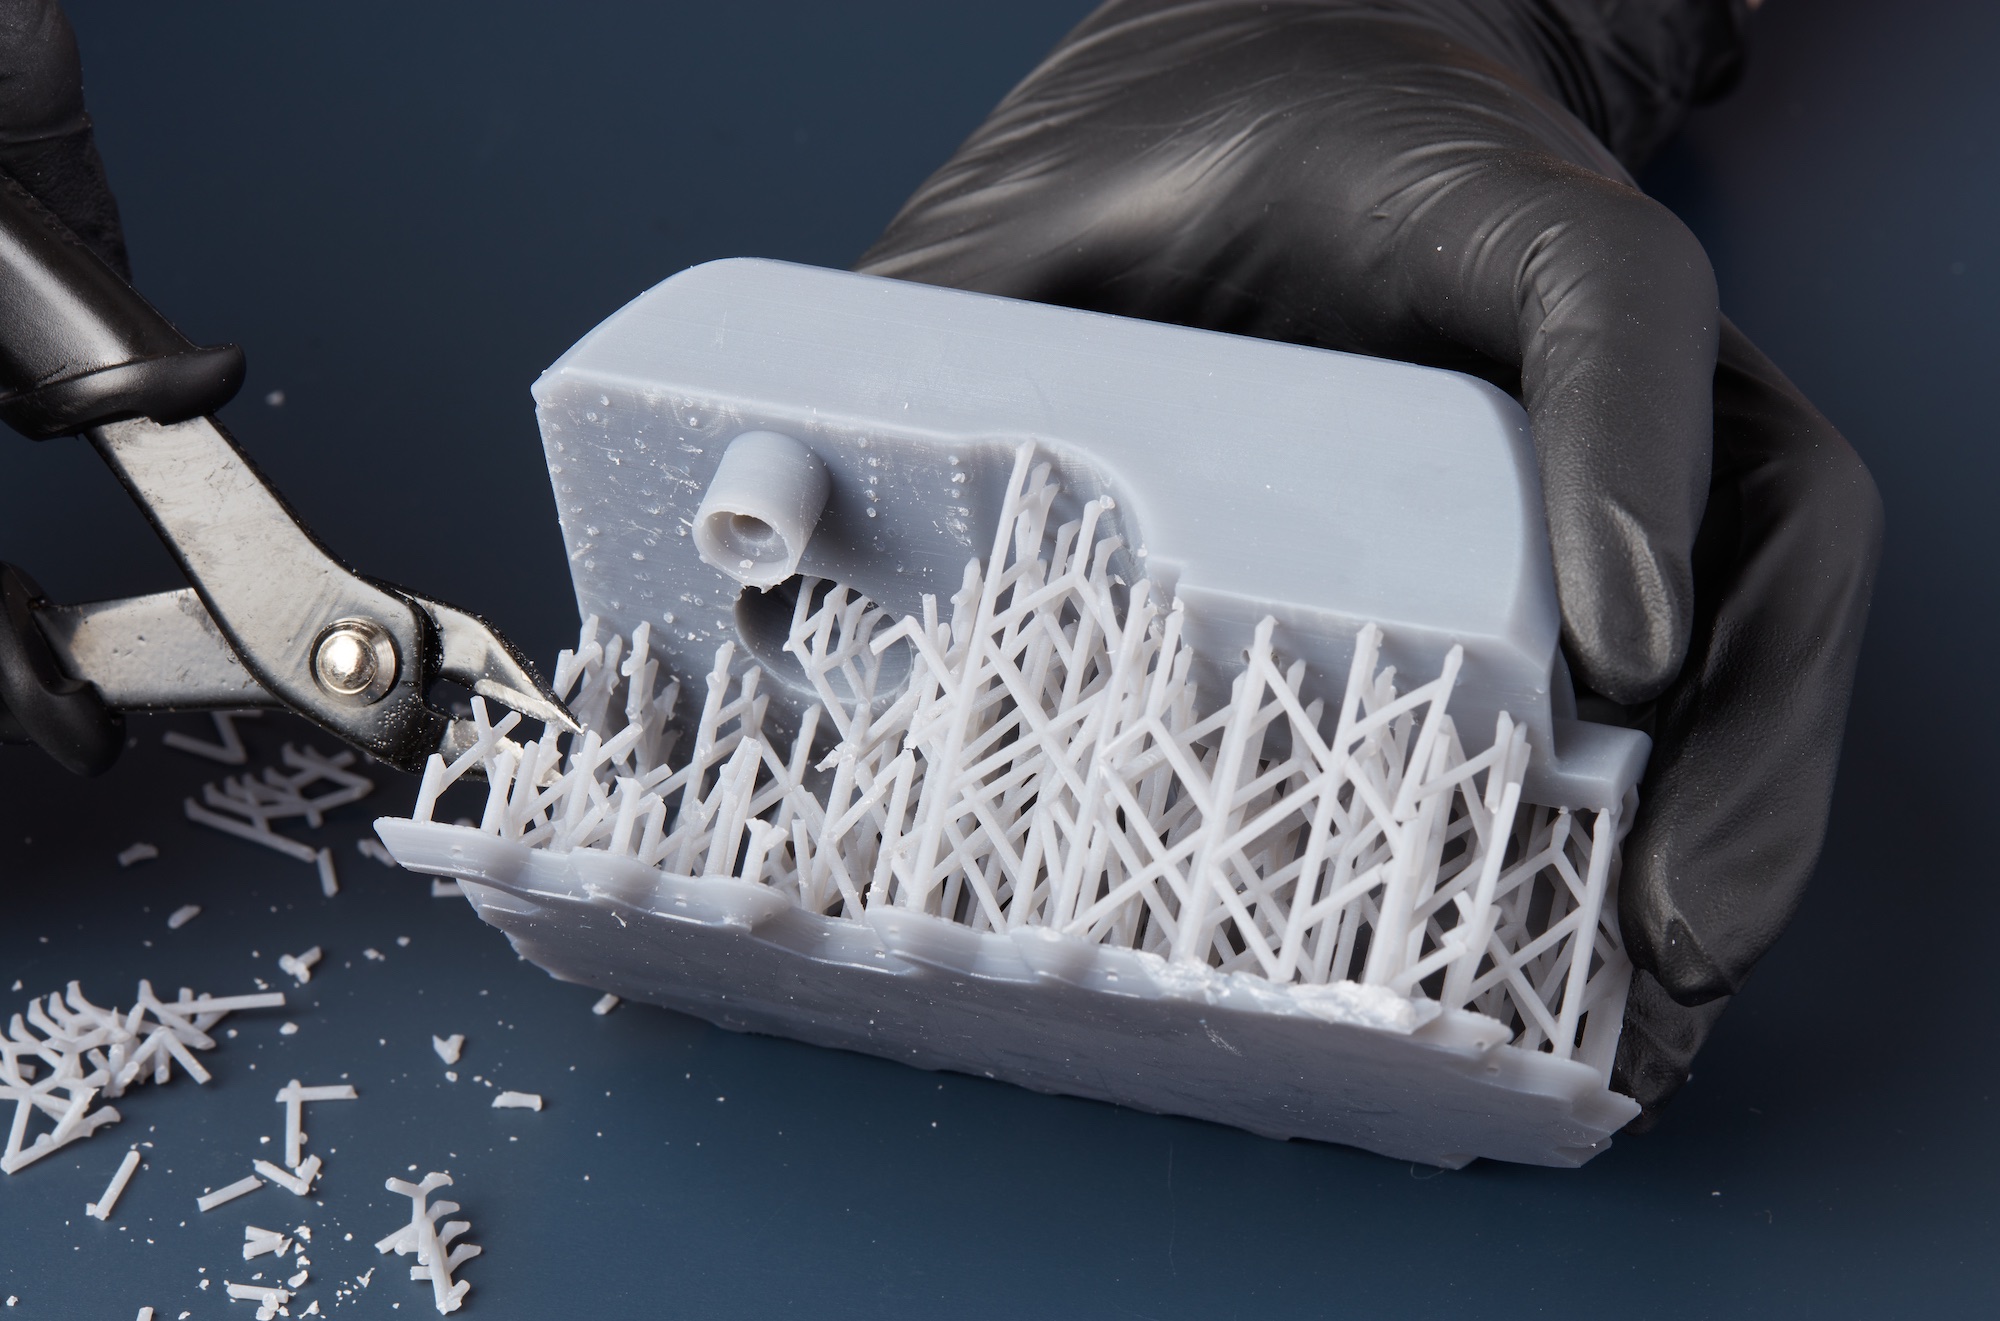
Often your printed parts will have supports that need to be removed. These supports are designed to help your print maintain its shape during printing, especially for overhangs and complex geometries. Here’s how to remove them safely:
Snip large supports first. In the lab toolbox, you’ll find flush-cutters. Use them to remove the biggest “trees” of support.
Twist off finer supports by hand. Grip small struts between thumb and forefinger and twist along the layer lines until they release.
Trim leftover nubs. If you have an x-acto knife, carefully make several shallow cuts—always pointing the blade away from you.
Tip
For stubborn supports, try gently rocking them back and forth along the layer lines instead of pulling straight out. This reduces the risk of damaging your print and helps the supports break away cleanly.
Final Cleanup & Lab Courtesy
Clean up excess filament. There is a dedicated filament/plastic disposal bin close to the printers. Any leftover filament from nozzle cleaning, rafts, or supports on the build plate should be removed and properly disposed of. The printer should be left as clean as (or cleaner than) you found it.
Optional sanding. If desired, use fine-grit sandpaper (220-400) to smooth rough spots on your printed part. Sand gently over a trash bin to catch dust; do not breathe in the particulate. The print labs do not provide sandpaper.
Inspect under good light. Hold your print up to a bright light source to check for layer-shifts, incomplete details, and any other imperfections.
Return tools and final check. Return any tools to their designated places. Before leaving the lab, ensure the printer you used has a clean, properly installed build plate.
For tips on improving future prints, see Iterating Your Design.
References