Your First Arduino Program
Believe it or not, you now know everything you need to write many different types of Arduino programs!
The only way to truly learn programming is by doing, so let’s dive in and write a simple program to get you started. Don’t worry if you don’t have everything yet; the goal is to get you comfortable with the process of writing and running code, so follow along as best you can.
Remember, this book is designed to be a guide, not a rule book. Feel free to experiment, make mistakes, and learn from them. The more you practice, the more comfortable you’ll become with programming!
Let’s write a simple program that prints “Hello, Arduino!” to the Serial
Monitor. This program will introduce you to the basic structure of an
Arduino sketch and how to use the Serial functions for debugging.
Step 1: Open the Arduino IDE and Create a New Sketch
If you haven’t already, open the Arduino IDE on your computer. You should see a blank sketch window where you can write your code.
On the left side of the window, you’ll see a toolbar with icons for common actions like opening multiple sketches, saving your work, and uploading code to your Arduino board. Click on the folder icon to open the Sketchbook, then click on the “New Sketch” button at the bottom of the window to create a new sketch.

Arduino IDE with New Sketch
You should have a new window with an empty sketch ready for you to write
your code. In it, you’ll see two functions: setup() and loop().
As discussed in special built in
functions, these functions are
automatically created for you when you create a new sketch. This is
where you’ll write your code.
Step 2: Write the Program
Let’s write the code for our first Arduino program. Thinking back again
to the special built in
functions, we
know that we need to use the Serial functions to print messages to
the Serial Monitor. Here’s the code for our program:
Thus,
// Our setup function runs once when the board is powered on or reset.
// This is where we initialize our program.
void setup() {
   // We need to initialize the Serial communication to use the Serial Monitor.
   // Printing to the serial monitor will not work without this line.
   Serial.begin(9600);
}

void loop() {
   // The code in this function is run repeatedly until the board is powered off.
   // This is where we put the code that we want to run continuously.

   // Print the message to the Serial Monitor.
   Serial.println("Hello, Arduino!");
}
Tip
Remember: the comments we add do not affect our program. If you wish, you can remove them.

Arduino IDE with First Program
Step 3. Open the Serial Monitor
In the top right of your IDE, you should see a magnifying glass icon. This is the toggle to show and hide the Serial Monitor window.
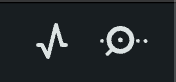
Magnifying Glass Icon
Click on it to open the Serial Monitor window.

Serial Monitor Open
Step 4. Upload and Run the Program
With your Arduino Uno plugged into your computer, select the correct board and port from the “Tools” menu in the Arduino IDE. You can find the board and port options under the “Tools” menu. Select the board type (Arduino Uno) and the port your board is connected to.

Selecting the Arduino Uno
After, click the “Upload” button (the right arrow icon) to compile and upload your code to the Arduino board. You should see the status messages at the bottom of the IDE as the code is compiled and uploaded.

Uploading the Code
Click back onto the Serial Monitor tab at the bottom, and you can see “Hello, Arduino!” printed in the Serial Monitor. This is the message that we printed in our code.

Seeing your first program
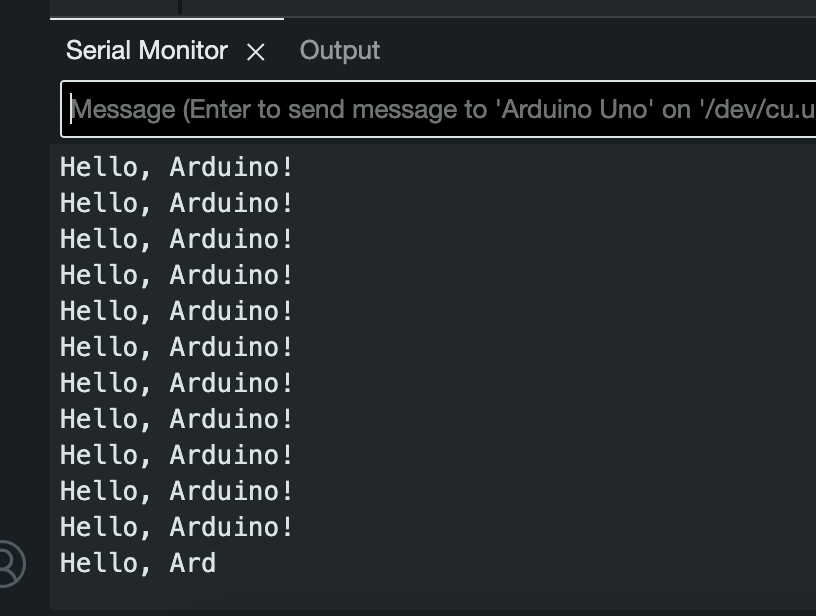
Closeup of seeing your first program
Congrats! You’ve just written and run your first Arduino program. This is a simple example, but it’s a great starting point for learning more about programming and working with Arduino.